iPhone Darkroom Print |
|
Create: iPhone Darkroom Print
Goal: create digital photographs using analog darkroom printing processes.
Darkroom Activity Directions
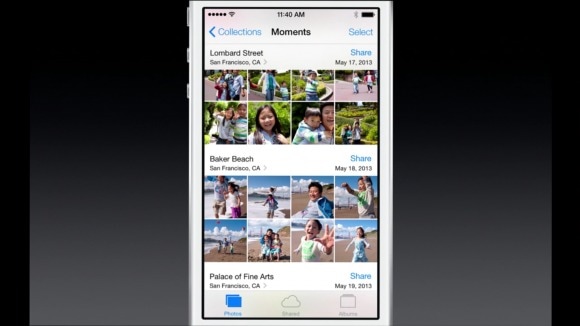
Select a photo located on your cell phone camera library, or create a B&W digital manipulated image in Photoshop, save as .jpg image and email this image to your school email account.
Once you have the image you want to use on your phone you will need to invert the colors:
iPhone Invert Colors Steps
Goal: create digital photographs using analog darkroom printing processes.
Darkroom Activity Directions
Select a photo located on your cell phone camera library, or create a B&W digital manipulated image in Photoshop, save as .jpg image and email this image to your school email account.
Once you have the image you want to use on your phone you will need to invert the colors:
iPhone Invert Colors Steps
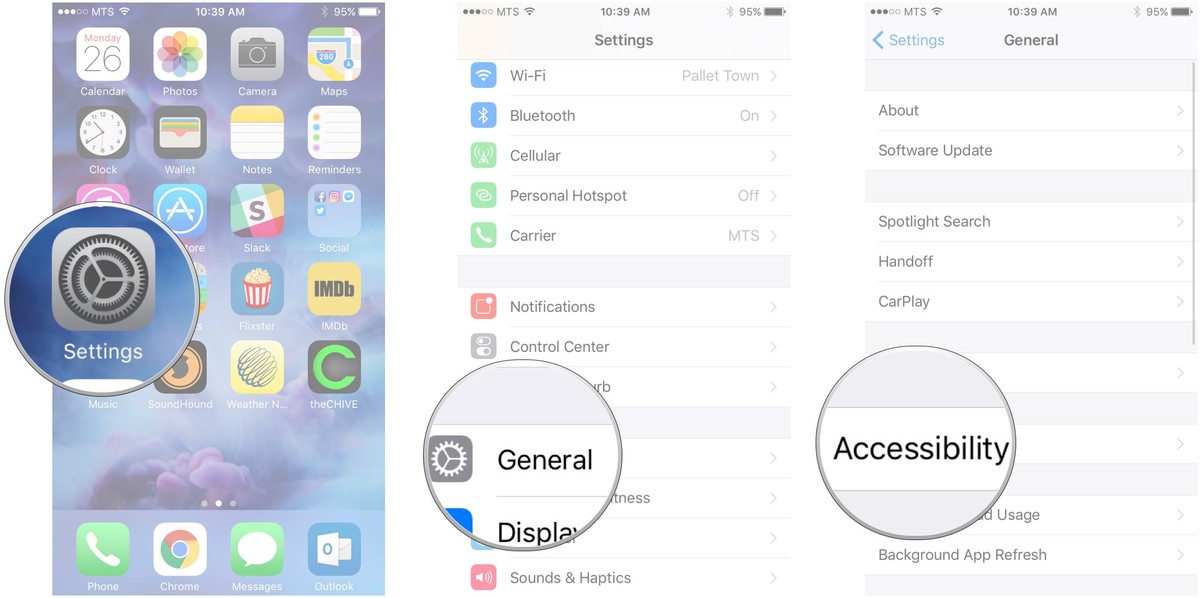
- Launch the Settings app on your iPhone or iPad.
- Tap on General
- Tap on Accessibility
- Tap on Accessibility Shortcut — it's all the way at the bottom.
- Tap the action you'd like to perform when you triple-click the Home button.
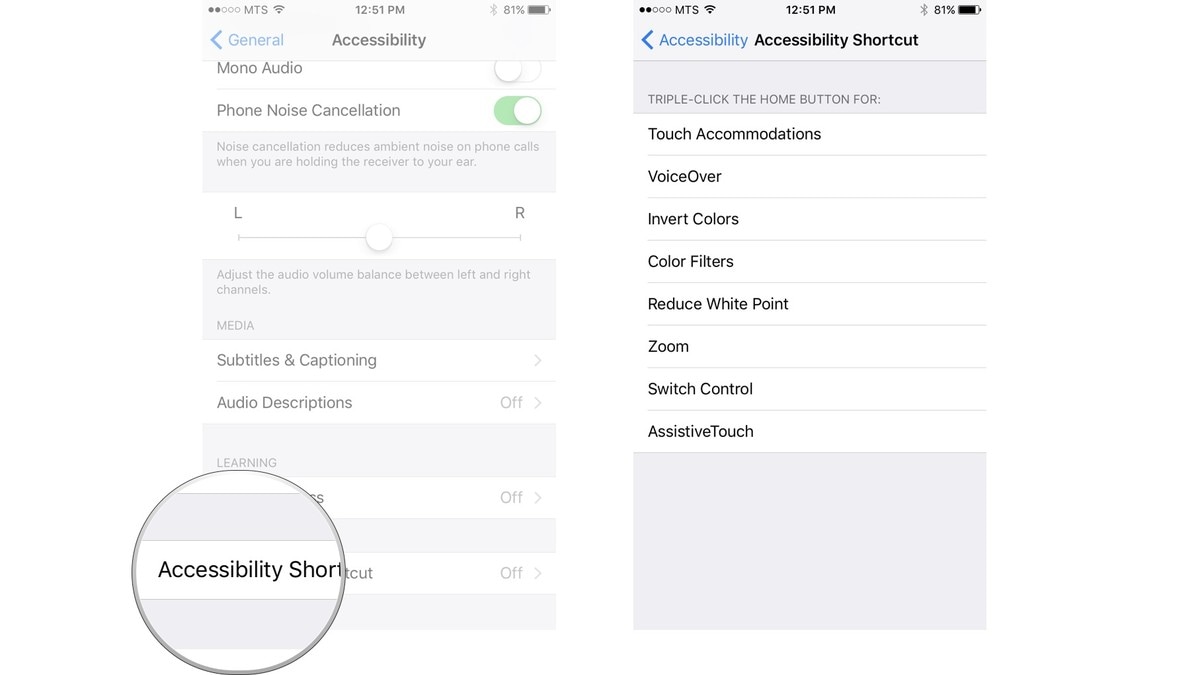
Once you've made your selection, simply triple-click the Home button from anywhere and your iPhone or iPad will enable the function you've selected. Triple-click it again to disable it.
Android Phones Invert Colors Steps
Turn Auto Lock to OFF or NEVER
Darkroom Steps
Note:
Results vary depending on the size and contrast of the image.
I’ve had the best results with prints that are similar in size to the iPhone screen, much larger and the grid pattern of the pixels starts to show. However, reproducing at 1:1, as with the retina display, the pixels are indiscernible to the human eye.
Android Phones Invert Colors Steps
- Launch the Settings app on your Android gadget.
- Scroll down to the ‘Accessibility’ menu option under the System cluster.
- Tap on ‘Accessibility’ to open the secondary menu and scroll down to the Display section.
- You should be able to see the Color inversion option right under the display. Simply slide the toggle to turn it on.
Turn Auto Lock to OFF or NEVER
- Turn off auto lock on your phone to NEVER so the phone does NOT go to Sleep mode.
- Turn brightness all the way up on your phone.
Darkroom Steps
- Take negative carrier out of enlarger.
- Place Phone in carrier screen facing down
- Place easel under enlarger so it’s under image
- Using a small piece of scrap paper on easel, Enlarge and Focus (using a grain focuser, you're able to see the individual red, green, and blue pixels of his phone’s display) the image.
- Get a full piece of photo paper keeping the shiny side down as you take it over to the enlarger station.
- Cover the light from your phone (use hand, or board) so it doesn't hit the photo paper as you place it into the easel.
- Make a test print, with no filter, moving the board every 5 seconds (5, 10, 15, 20, 25, 30 seconds)
- Develop print in chemicals with same times indicated on wall
- Check print and determine what is the best overall exposure time needed.
- Make a new print with the desired time (set timer)
- Develop print
- Dry print
- Mount on board with double sided tape, sign, date, title, and turn into my desk for grading.
Note:
Results vary depending on the size and contrast of the image.
I’ve had the best results with prints that are similar in size to the iPhone screen, much larger and the grid pattern of the pixels starts to show. However, reproducing at 1:1, as with the retina display, the pixels are indiscernible to the human eye.
