Step 1
Log into one of the computers that has a scanner along the back wall in room 21.
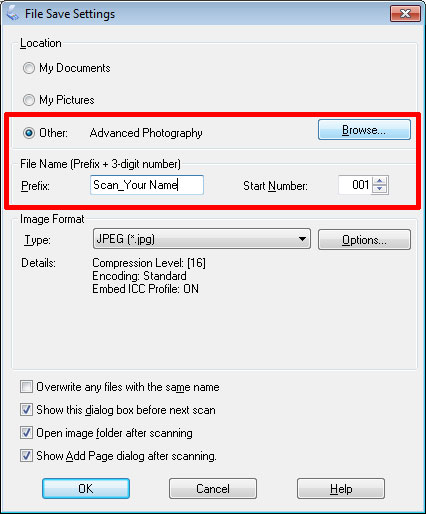
Scan your best 4 Silver Drips prints
Save these as JPG files to your Google Drive folder > Advanced Photography (silver drips 1, silver drips 2, etc.)
Scan your best 4 Silver Drips prints
Save these as JPG files to your Google Drive folder > Advanced Photography (silver drips 1, silver drips 2, etc.)
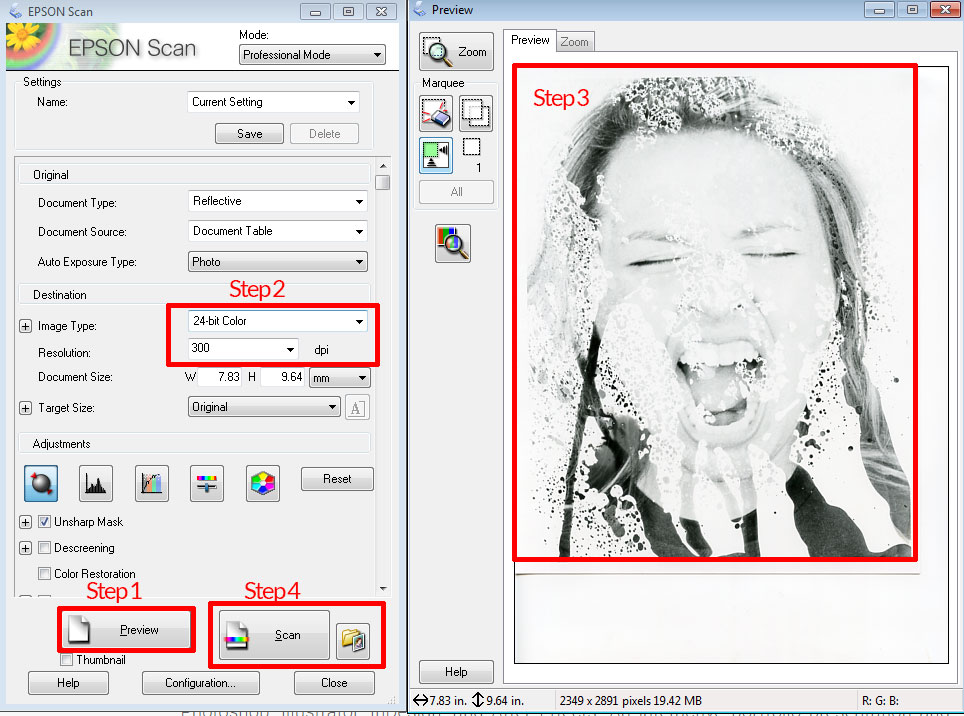
Step 2
After scanning log off that machine and go back to your computer.
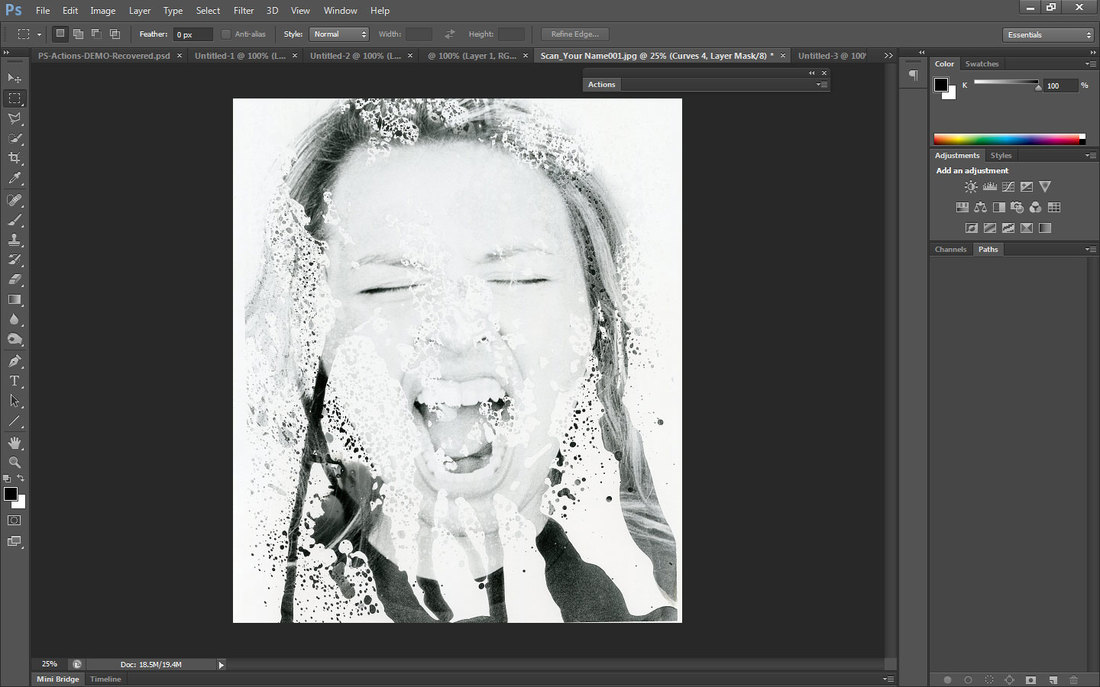
Open Photoshop and then open your 1st scanned (Silver Drips Scan 1) photo
File > Open > Google Drive > Silver Drips Scan 1
Open Photoshop and then open your 1st scanned (Silver Drips Scan 1) photo
File > Open > Google Drive > Silver Drips Scan 1
Step 3
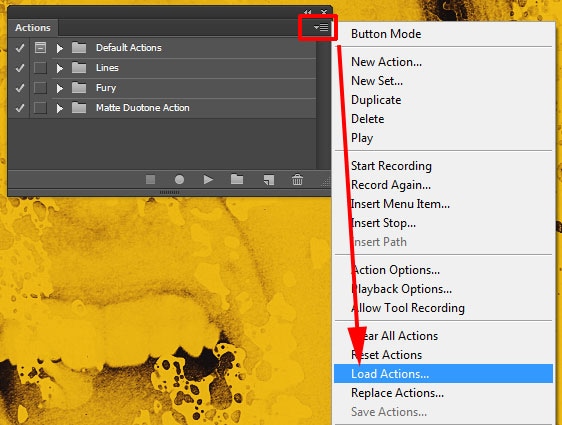
Open Actions panel in Photoshop.
- Window Menu > Actions
Click the flyout menu on the upper right corner of the Actions Panel and select > Load Actions
Then, navigate to the downloads folder and select > Matte Duotone Action
- Window Menu > Actions
Click the flyout menu on the upper right corner of the Actions Panel and select > Load Actions
Then, navigate to the downloads folder and select > Matte Duotone Action
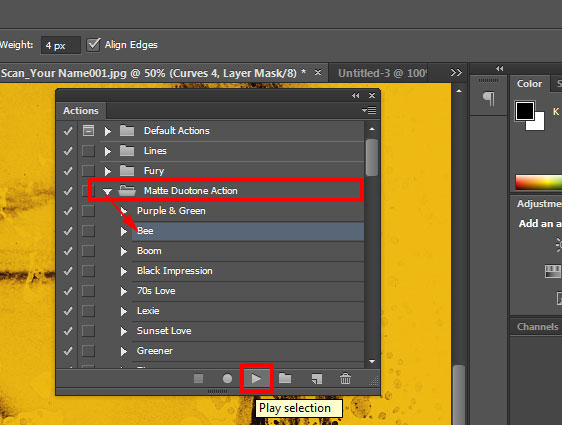
Step 4
Click the triangle next to the Matte Duotone Action to open up all different color options.
Click on one of the names located in the Matt Duotone Action (there are a lot to choose from)
Press the Play button
Click on one of the names located in the Matt Duotone Action (there are a lot to choose from)
Press the Play button
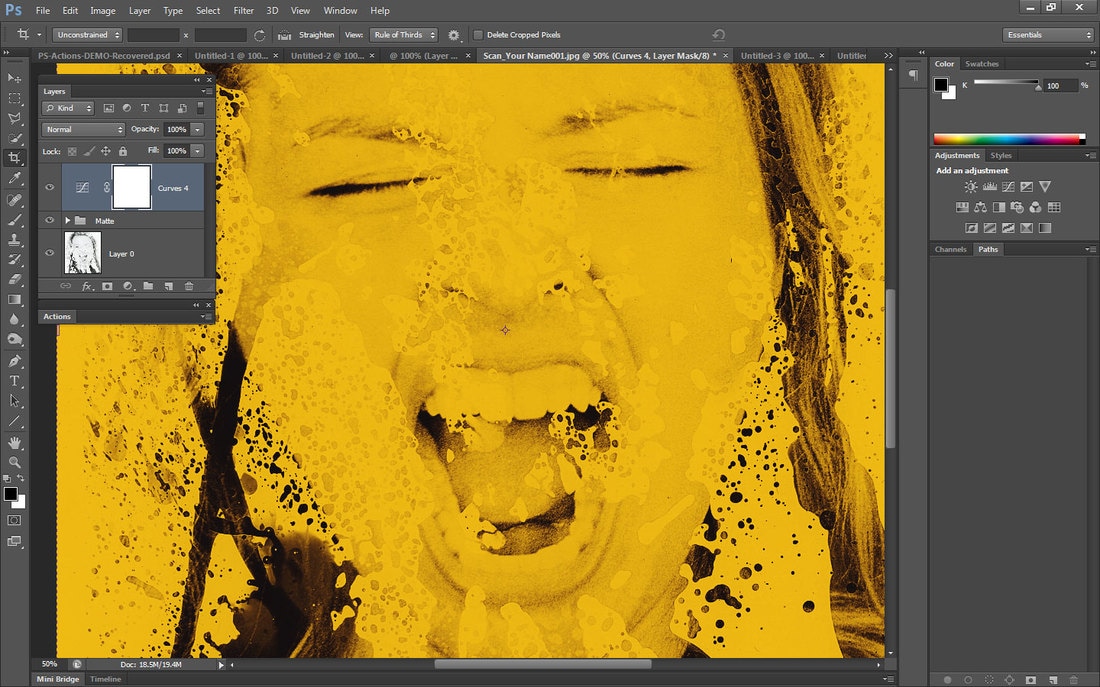
Step 5
If you don't like the color effects delete the Matte layer (drag icon to trash can at the bottom of the layer panel) and try a different one
Step 6
Save this file to your Google Drive > Advanced Photography > Silver Drips Color Effects 1
Step 7
Repeat these using a different Color Action effect on your Silver Drips Color Effects 2, Silver Drips Color Effects 3 and Silver Drips Color Effects 4
